Tutorial 7

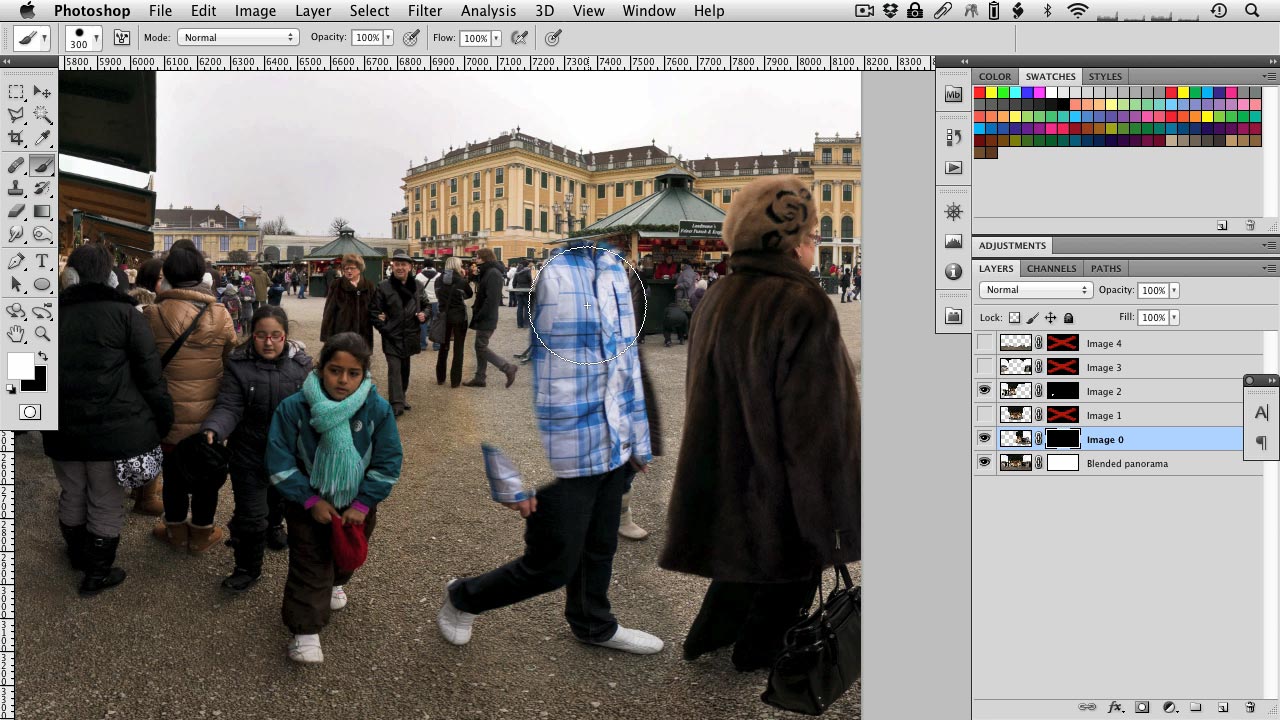
In this (quite lengthy) tutorial, I’ll give you a chance to get a “raw” look over my shoulder and see some of the stitching tricks and retouching techniques I employ to stitch more difficult panoramas (in particular, with people moving around in the image, and where the panorama has been shot handheld in a rather sloppy, imprecise way).
To better follow the tutorial, the (downsized) images used can be downloaded from here.
The main point to take away: Certain problems can be fixed both before and after stitching, but the time it takes to fix them can vary quite considerably. So experiment and get a feel for what type of problem is best fixed at which stage – stitching or retouching. And: The “Skew” tool in Photoshop is your friend.
The final panorama can be seen here.

YOU ARE THE F’ING MAN! These tutorials are incredible. Thank you so much for dedicating so much time to helping teach others this awesome form of photography.
Love all of your tutorials! I am really learning a lot but I seem to have an issue trying to download your sample files… I am able to follow the link, but then no matter what I do, I am not able to get an active link to download. Any suggestions?
/Users/markkuklinski/Desktop/Screen Shot 2020-01-11 at 8.13.12 AM.png
Hi Mark, you are right, looks like ge.tt stopped working… I’ll see if I can pull the files out of the archives, it’s been a little while 😉
Thanks, I am a very hands on type learner.
Hi Mark, I’ve now re-uploaded the tutorial files to Dropbox, so check the respective posts (Tutorials 3, 4 and 7) for the updated links. Thanks for pointing this out!